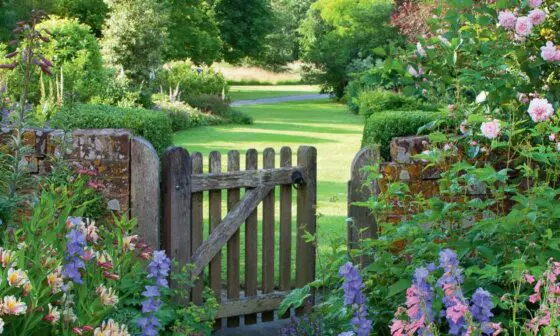
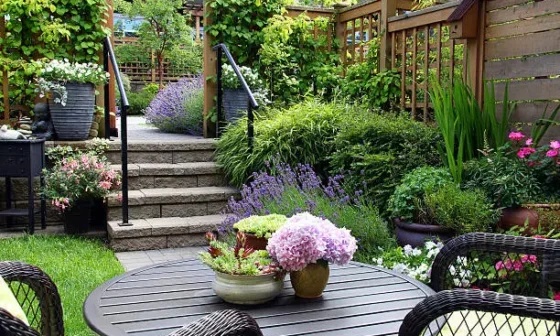
A garden pod is a great addition to your outdoor space, whether you use it as a workspace, a reading nook, or just a cozy spot to relax in. And the best part? You can build it yourself with just a few tools and some basic materials. So, put on your DIY hat, grab your tools, and let’s get started!
Step 1: Planning
Before you begin building, it’s important to plan out the design of your garden pod. Consider what you want to use the space for, how much space you have available in your garden and any local regulations or restrictions that might apply.
Step 2: Gather your materials
Before we get started, let’s make sure we have everything we need. Here’s a list of materials you’ll need to build your garden pod:
- 4×4 posts (8 ft long)
- 2x4s (8 ft long)
- 1x4s (8 ft long)
- 2x6s (8 ft long)
- 3/4-inch plywood sheets (4×8 ft)
- Corrugated roofing sheets (8 ft long)
- Galvanized screws
- L-brackets
- Door hinges
- Door handle
- Clear silicone caulk
- Exterior paint
You may also want to invest in a circular saw, a drill, and a level to make the project easier.
Step 3: Build the frame
The first step is to build the frame of your garden pod. Start by cutting four 4×4 posts to the desired height of your garden pod. These will be the corner posts. Next, cut eight 2x4s to the same height as the posts. These will be the vertical support pieces that will be attached to the posts.
Attach the 2x4s to the posts using galvanized screws, making sure they are level and square. Then, cut four more 2x4s to the length of the garden pod, and attach them horizontally between the vertical support pieces, creating a rectangular frame. Use L-brackets to secure the joints.
Step 4: Add the floor and walls
Next, it’s time to add the floor and walls to your garden pod. Cut two pieces of 3/4-inch plywood to the size of the floor and attach them to the frame using galvanized screws.
For the walls, cut several 2x4s to the height of the garden pod and attach them vertically to the frame using galvanized screws. Then, cut pieces of 1×4 to the length of the space between the vertical 2x4s, and attach them horizontally to create a frame for the wall. Cut the plywood to fit within the frames, and attach them to the vertical 2x4s using galvanized screws.
Step 5: Add the roof
Once the walls are in place, it’s time to add the roof. Cut several 2x6s to the length of the garden pod, and attach them horizontally to the top of the vertical 2x4s. Use L-brackets to secure the joints.
Next, cut the corrugated roofing sheets to the size of the roof, leaving an overhang of about 6 inches on each side. Attach the roofing sheets to the 2x6s using galvanized screws.
Step 6: Add the door
No garden pod is complete without a door! Cut a piece of 3/4-inch plywood to the size of the doorway, and attach it to the frame using hinges. Then, add a door handle and latch to keep the door securely closed.
Step 7: Finish the details
Now that your garden pod is complete, it’s time to add some finishing touches. Use clear silicone caulk to seal any gaps between the walls and roof, and between the door and frame. Then, add a coat of exterior paint to protect your garden pod from the elements and give it a polished finish.
Step 8: Enjoy Your Garden Pod
Congratulations! You’ve just built your very own garden pod. Now it’s time to enjoy it. Add some comfortable seating, some plants, and maybe a small table, and you’ve got a cozy outdoor retreat that you can enjoy all year round.
Tips for Building Your Garden Pod
Here are a few tips to help you build your garden pod successfully:
- Make sure you have a level foundation to build on. If the ground is uneven, use concrete blocks or other materials to create a level surface.
- Measure twice, cut once. It’s important to measure everything accurately to ensure a perfect fit.
- Use galvanized screws and L-brackets to secure the joints. This will ensure that your garden pod is sturdy and will last for years to come.
- Consider adding insulation to your garden pod if you plan to use it year-round. This will help keep it warm in the winter and cool in the summer.
Frequently Asked Questions about DIY Garden Pod
Q: How much does it cost to build a garden pod?
A: The cost of building a garden pod will depend on the size, materials, and design you choose. On average, you can expect to spend around £1,000 – £5,000 for materials and supplies.
Q: How long does it take to build a garden pod?
A: The amount of time it takes to build a garden pod will depend on the complexity of the design and your level of experience. In general, you can expect to spend anywhere from a few days to a couple of weeks on the project.
Q: Can I build a garden pod myself or should I hire a professional?
A: Building a garden pod is a DIY project that can be done by most homeowners with some basic DIY skills. However, if you’re not comfortable with DIY projects, or if you’re building a more complex design, you may want to consider hiring a professional.
Q: Do I need a permit to build a garden pod?
A: The need for a permit will depend on your local zoning laws and building codes. In some areas, you may need a permit for any structure over a certain size or height. Be sure to check with your local building department before starting your project.
Q: What materials do I need to build a garden pod?
A: The materials you’ll need will depend on the design you choose, but generally, you’ll need lumber, plywood, roofing sheets, screws, L-brackets, door hinges, a door handle, clear silicone caulk, and exterior paint.
In conclusion, building a garden pod is a fun and rewarding DIY project that can add value to your home and provide a cozy outdoor retreat. With just a few basic materials and some tools, you can create a space that you and your family can enjoy for years to come.


