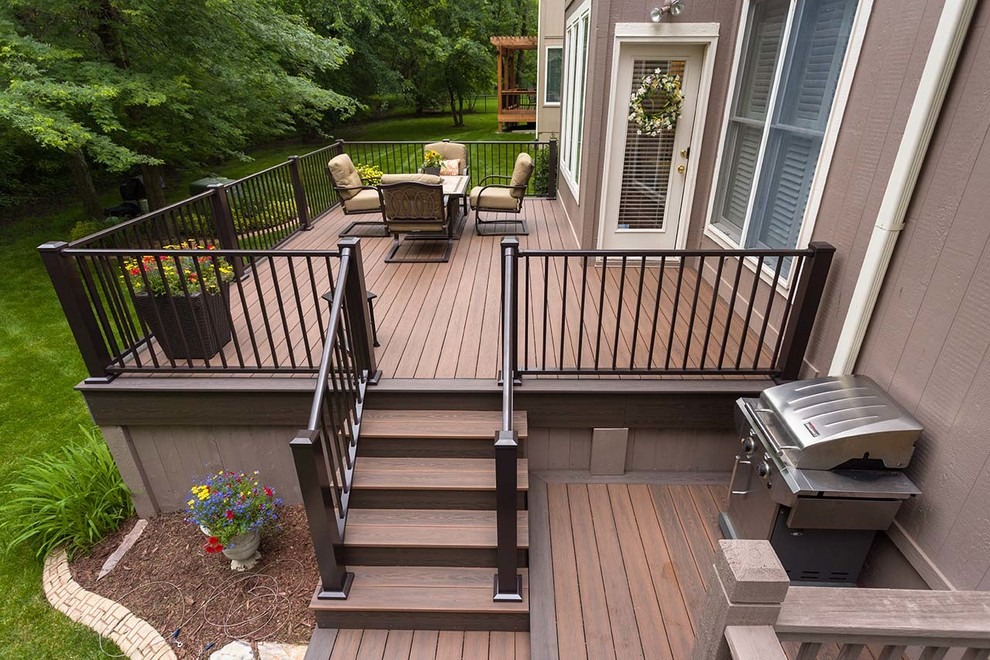
Decking is a great way to enhance the aesthetic value and functionality of your outdoor living space. However, it’s not just the surface of the decking that matters – the underlying structure is equally important. This is where deck joists come in.
What are Deck Joists?
Deck joists are the horizontal beams that form the underlying framework of your decking. They are typically made of wood, but can also be made of composite materials, steel, or aluminum. Joists for decking are installed perpendicular to the decking boards and run across the length of the deck, providing support and stability to the decking surface.
Why are Deck Joists Important?
Decking joists are a critical component of any decking project. They provide the necessary support for the decking surface, ensuring it can bear weight and resist movement. Properly installed deck joists also help prevent the decking boards from sagging, warping, or bending over time.
In addition, deck joists play an important role in ensuring the safety of your deck. They help distribute the weight of people, furniture, and other objects evenly across the structure, preventing any one area from being overloaded and potentially collapsing.
Choosing the Right Decking Joists
When choosing deck joists, there are several factors to consider:
-
Material: The most common material for deck joists is pressure-treated lumber, as it is both affordable and durable. However, composite materials, steel, and aluminum joists can also be used, depending on your preferences and budget.
-
Size: The size of your deck joists will depend on the spacing between them, the length of the deck span, and the weight it will be supporting. In general, the larger the deck, the larger the joists should be.
-
Spacing: Deck joists should be spaced no more than 16 inches apart to ensure adequate support for the decking boards.
-
Length: The length of your deck joists will depend on the size of your deck. If you’re unsure about the length required, consult with a professional.
What size joists are needed for decking?
The size of the decking joists will depend on various factors such as the size of the deck, the weight it will be supporting, and the spacing between the joists. In general, the most common sizes of joists used for decking in the UK are:
-
100mm x 50mm (4″ x 2″): This size of joist is suitable for smaller decks with light loads. The maximum recommended span for this size of joist is approximately 1.8 meters (6 feet) when spaced at 400mm (16 inches) on center.
-
150mm x 50mm (6″ x 2″): This size of joist is suitable for larger decks with moderate loads. The maximum recommended span for this size of joist is approximately 2.4 meters (8 feet) when spaced at 400mm (16 inches) on center.
-
200mm x 50mm (8″ x 2″): This size of joist is suitable for larger decks with heavier loads. The maximum recommended span for this size of joist is approximately 3 meters (10 feet) when spaced at 400mm (16 inches) on center.
These are general guidelines and the size of the joists will also depend on the type of material used and the specific requirements of your project.
Step-by-Step Installation of decking joists
If you’re planning to install decking joists, here’s a step-by-step guide to help you get started.
Materials Needed:
- Pressure-treated lumber or composite joists
- Galvanized screws or bolts
- Circular saw or handsaw
- Drill
- Measuring tape
- Level
- Safety goggles and gloves
Step 1: Determine the Size and Spacing of Joists Before installing your joists, you’ll need to determine the size and spacing required for your specific decking project. The size of your joists will depend on the length and width of your deck, as well as the weight it will be supporting. The spacing between joists should be no more than 16 inches to provide adequate support.
Step 2: Prepare the Support Posts Your joists will need to be anchored to support posts that are installed at regular intervals along the length of your deck. Measure and mark the location of each post, and then use a circular saw or handsaw to cut notches in the top of each post to accommodate your joists.
Step 3: Install the Ledger Board A ledger board is a horizontal board that is attached to the side of your house, providing additional support for your deck. Install your ledger board using galvanized lag bolts or screws, ensuring that it is level and securely attached to the house.
Step 4: Install the Joists Begin installing your joists at one end of the deck, using galvanized screws or bolts to attach them to the support posts and ledger board. Ensure that each joist is level and flush with the ledger board and that the spacing between joists is consistent. Use a drill to pre-drill holes for the screws or bolts to prevent splitting.
Step 5: Cut the Joists to Length Once you have installed all of the full-length joists, you may need to cut some shorter pieces to fit around corners or other obstacles. Use a circular saw or handsaw to cut the joists to the required length, ensuring that the cuts are clean and square.
Step 6: Install Blocking and Bracing To further strengthen your decking structure, you may need to install blocking or bracing between the joists. Blocking is a short piece of lumber that is installed between two joists to prevent them from twisting or rotating, while bracing is a diagonal piece of lumber that provides additional support.
Professional Installation vs DIY
additional tips to consider when installing decking joists:
-
Check the spacing: Proper spacing between the joists is important for the structural integrity of your deck. The spacing will depend on the size and weight of the decking material you’re using, but as a general rule, joists should be spaced no more than 400mm (16 inches) apart.
-
Consider the angle: Depending on the design of your deck, you may need to install the joists at an angle rather than perpendicular to the support posts. This can help provide extra strength and stability to the structure.
-
Use a level: It’s important to make sure the joists are level when installing them to prevent any unevenness or sagging in the deck. Use a level to check the joists as you install them, adjusting as necessary.
-
Follow local codes and regulations: Depending on where you live, there may be specific building codes and regulations that dictate how decks must be constructed. Be sure to check with your local authorities to ensure your deck meets these requirements and is safe and structurally sound.
Summary
Decking joists may not be the most glamorous aspect of your decking project, but they are undoubtedly the most important. They provide the structural backbone that supports your decking surface, ensuring it remains level, stable, and safe.
When choosing your deck joists, consider the materials, size, spacing, and length required for your project. And remember to install them properly and maintain them regularly to ensure your deck remains safe and enjoyable for years to come.


1 comment
Comments are closed.