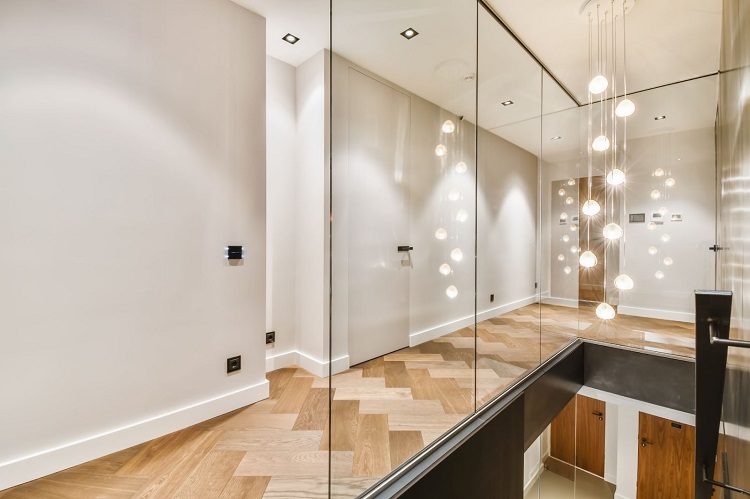
Loft conversions are a fantastic way to maximise the space in your home, adding both functionality and aesthetic appeal. One design element that has become increasingly popular in modern loft extensions is the use of the glass balustrade.
These sleek, contemporary barriers not only improve safety but also enhance natural light flow, creating an open and airy feel. If you’re considering a loft extension with glass balustrades, this guide will walk you through the essential steps and considerations.
What is a Glass Balustrade?
A glass balustrade is a barrier system typically made of toughened or laminated glass, often supported by stainless steel or aluminium fixings. They are commonly used for staircases, balconies, and loft spaces to provide safety while maintaining a minimalist, modern aesthetic. Unlike traditional balustrades made of wood or metal, glass allows for uninterrupted views and better light distribution, making your loft feel more spacious and inviting.
Steps to Building a Loft Extension with Glass Balustrades
1. Planning and Permissions
Before you begin any loft extension, you need to check whether you require planning permission. In many cases, loft conversions fall under permitted development rights, but if your property is in a conservation area or a listed building, additional permissions may be necessary. It’s also crucial to ensure that your design complies with UK Building Regulations, particularly regarding head height, fire safety, and structural integrity.
2. Structural Considerations
A loft extension involves significant structural modifications. You’ll need to assess whether your existing roof can support the additional weight of a new room. Reinforcements to joists and beams may be required. A structural engineer will be essential in ensuring that your loft is safe and meets all regulations.
3. Choosing the Right Glass Balustrade System
There are several types of glass balustrades to consider, including:
- Frameless glass balustrades – Provide a clean, modern look with minimal hardware.
- Post and rail systems – Use metal supports for added stability while still maintaining transparency.
- Clamped glass panels – Secure the glass with clamps, offering a balance of strength and aesthetic appeal.
Your choice will depend on your desired look, budget, and safety requirements. Laminated or toughened safety glass is essential to prevent breakage and ensure durability.
4. Installing the Loft and Balustrades
Once the structural work is complete, the next step is installing your flooring, insulation, and walls. If you’re adding a staircase to access the loft, this must also be factored into the design. When it comes to installing the glass balustrade:
- Ensure that the fixing points are solid, typically anchoring into steel or timber structures.
- Use professional-grade fittings, such as spigots, clamps, or base channels, to secure the glass panels.
- Make sure the balustrade meets building regulations, including a minimum height requirement of 1.1m for safety.
5. Finishing Touches
After the major work is completed, focus on interior design elements to enhance your new loft space. Glass balustrades pair beautifully with natural light, so consider large windows or skylights. Minimalist decor, soft furnishings, and strategic lighting can further amplify the sense of openness and comfort.
Final Thoughts
A loft extension with glass balustrades can completely transform your home, adding value and a contemporary touch. While the process requires careful planning, structural considerations, and professional installation, the end result is a stunning, light-filled space that seamlessly blends safety and style. If you’re ready to elevate your loft, consulting an architect or specialist supplier will ensure you make the best choices for your home.
Looking for high-quality glass balustrade systems? Speak to Origin Arichetectural today and bring your loft vision to life!