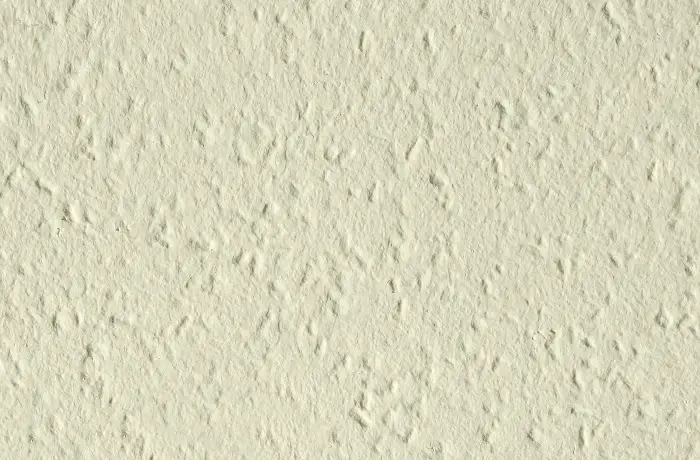
Woodchip wallpaper can be a challenging element to deal with when redecorating your home. Its coarse texture and dated appearance often make it an eyesore.
However, with the right techniques and materials, you can easily cover it up and give your walls a fresh, modern look.
In this comprehensive guide, we will walk you through the process of how to cover woodchip wallpaper effectively.
How to Cover Woodchip Wallpaper?
Assessing Your Wall
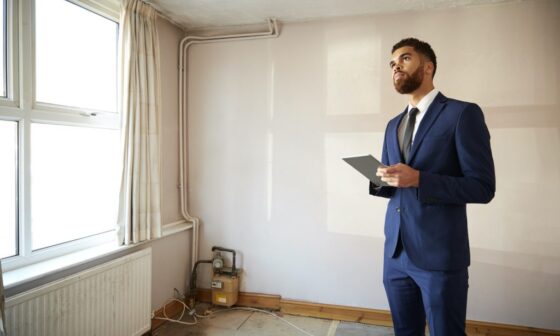
Before you embark on your wallpaper transformation journey, it’s essential to assess the condition of your walls.
Check for any loose or damaged Woodchip wallpaper. If you notice any, make the necessary repairs before proceeding.
Gathering the Materials
To get started, gather the following materials:
- Wallpaper Stripper: This will help you remove any existing wallpaper if needed.
- Spackle or Filler: For patching up imperfections in the wall.
- Sandpaper: To smooth the surface.
- Primer: To ensure proper adhesion of the new wallpaper.
- Wallpaper of Your Choice: Select a design that suits your style and complements your space.
- Wallpaper Adhesive: Choose a high-quality adhesive for a long-lasting finish.
- Wallpaper Smoother: Essential for removing air bubbles during installation.
- Utility Knife: For precise cutting.
- Paint and Paintbrush: If you plan to paint over the wallpaper.
Removing Existing Wallpaper
If you have old wallpaper in place, use a wallpaper stripper to carefully remove it. Follow the manufacturer’s instructions for the best results.
Preparing the Surface
Now, it’s time to prepare the surface for your new wallpaper. Fill any holes or cracks with spackle or filler and sand the surface until it’s smooth.
Apply a coat of primer to ensure that the adhesive bonds well with the wall.
Measuring and Cutting
Measure the height of your wall and cut the wallpaper into strips that match the wall’s height, leaving a little extra at the top and bottom for adjustments. It’s crucial to match the patterns if your wallpaper has any.
Applying the Wallpaper
Apply adhesive to the back of your wallpaper strips, following the manufacturer’s instructions. Start at one end of the wall and press the wallpaper onto the surface, smoothing out any air bubbles as you go. Continue this process until the entire wall is covered.
Trimming and Finishing
Use a utility knife to trim excess wallpaper at the top and bottom. Make precise cuts for a clean finish. Once you’ve trimmed all the edges, step back and admire your beautifully transformed wall.
Can I paint over woodchip wallpaper instead of removing it?
Yes, you can paint over woodchip wallpaper instead of removing it. Painting over woodchip wallpaper can be a convenient option if you want to update the look of your walls without the hassle of removing the existing wallpaper.
How long does it take to cover woodchip wallpaper in an average-sized room?
The time it takes to cover woodchip wallpaper in an average-sized room can vary depending on several factors, including your experience with wallpapering, the condition of the walls, and the complexity of the wallpaper pattern.
On average, for a standard-sized room of approximately 12′ x 12′ (3.6m x 3.6m), you can expect the process to take approximately one to two days.
How to remove woodchip wallpaper?
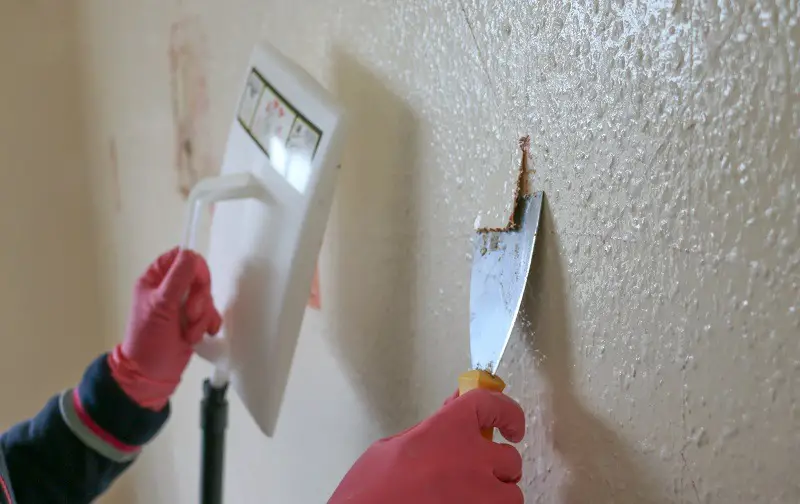
Removing woodchip wallpaper can be a challenging but necessary task if you’re looking to update your walls.
Here’s a step-by-step guide on how to remove woodchip wallpaper effectively:
Step 1: Prepare the Room Before you begin, clear the room of furniture and any items hanging on the walls. Lay down plastic sheeting or drop cloths to protect the floor from wallpaper debris and moisture.
Step 2: Wear Protective Gear Put on safety goggles and gloves to protect your eyes and hands during the removal process.
Step 3: Test a Small Area It’s essential to determine whether your woodchip wallpaper has been painted over. If it has, the removal process will be more challenging.
Start by peeling a corner or edge of the wallpaper. If it comes off easily, you may not need a wallpaper stripper. If not, proceed to the next step.
Step 4: Mix Wallpaper Stripper Solution Follow the manufacturer’s instructions to mix the wallpaper stripper solution with water in a bucket.
Use a sponge or cloth to apply the solution to a small section of the wallpaper. Allow it to sit for the recommended time, usually around 15-20 minutes, to soften the adhesive.
Step 5: Begin Scraping Using a wallpaper scraper or putty knife, gently start scraping the softened wallpaper from the wall.
Work from the top down, as this will prevent water from dripping onto already cleaned areas. Be patient and careful to avoid damaging the underlying wall.
Step 6: Repeat the Process Continue applying the wallpaper stripper solution and scraping off the wallpaper in small sections until the entire wall is clear.
You may need to reapply the solution several times, especially if the wallpaper has multiple layers or is particularly stubborn.
Step 7: Wash the Wall Once you’ve removed all the wallpaper, wash the walls with clean water and a sponge or cloth to remove any remaining adhesive residue.
Make sure the wall is thoroughly clean and dry before proceeding to the next step.
Step 8: Repair Any Damage Inspect the wall for any damage, such as holes or cracks, that may have been hidden by the wallpaper. Fill these imperfections with spackle or filler, and sand the surface until it’s smooth.
Step 9: Prime the Wall Apply a coat of primer to the wall to prepare it for your desired wall treatment. Primer helps create a smooth surface and improves adhesion.
Step 10: Finish as Desired Once the primer is dry, you can proceed with your chosen wall wallpaper.
